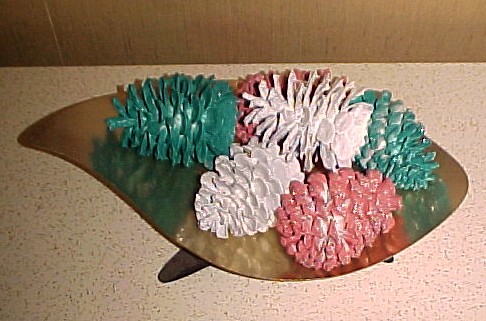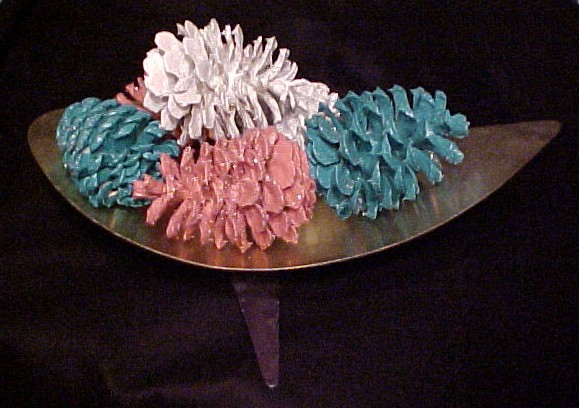
In case Jeff or anyone else wants to decorate pine cones as shown here,
I've taken notes on how John went about the task last year.
Here's how to do it:
1. Let the pine cones dry out before you start painting them. They open
up further as they dry, which both looks better and opens more surface
area. You don't want to paint a fresh one only to have additional
unpainted surfaces show up on it later.
2. Tie a thread around each pine cone. This gives you a means of
suspending it without handling the surfaces or messing up the paint.
 3.
Dip each pine cone in white paint, making sure to get it into "every
crack and cranny," as John put it. This seals the surface,
gives the final color something to stick too, and keeps that color
from sinking into or being contaminated by the pine oils and resins.
4. Hang the pine cones up to dry. Outdoors is best, at long as it's
warm and dry out there. You may be able to speed things up a bit
with a blow dryer. Obviously, you want to suspend them over newspaper
or paper plates or something--maybe even a paint tray--to catch the
drips.
5. When they're dry, suspend them from the threads again, and
either
dip or spray them with the paint colors of your choice. John remembers
red and green ones from his childhood. I remember silver and
gold. (My mom also painted thistles, and maybe even Queen Anne's Lace.)
Depending on what effect you want, you may or may not want to cover all
the white with the new color. Hang the painted pine cones for a while
to dry, but not completely this time.
5. While they're still tacky with half-dried paint, blow glitter onto
them. John did this by twirling them and literally blowing on the
nearby glitter. Pouring glitter or dipping them in it will have a
much less delicate and pleasing effect.
Have fun!
Karen
Fireworks, Family, and Times Gone By
-
Last night I made a little video comparing fireworks and sunsets, posing
the musical question, "Which is Better?" Here it is:
Since then, I've been think...
6 years ago

 You are looking at an archive edition of


2 comments:
Thank you for the instructions :) Jeff
Good Work, John!!
V
Post a Comment